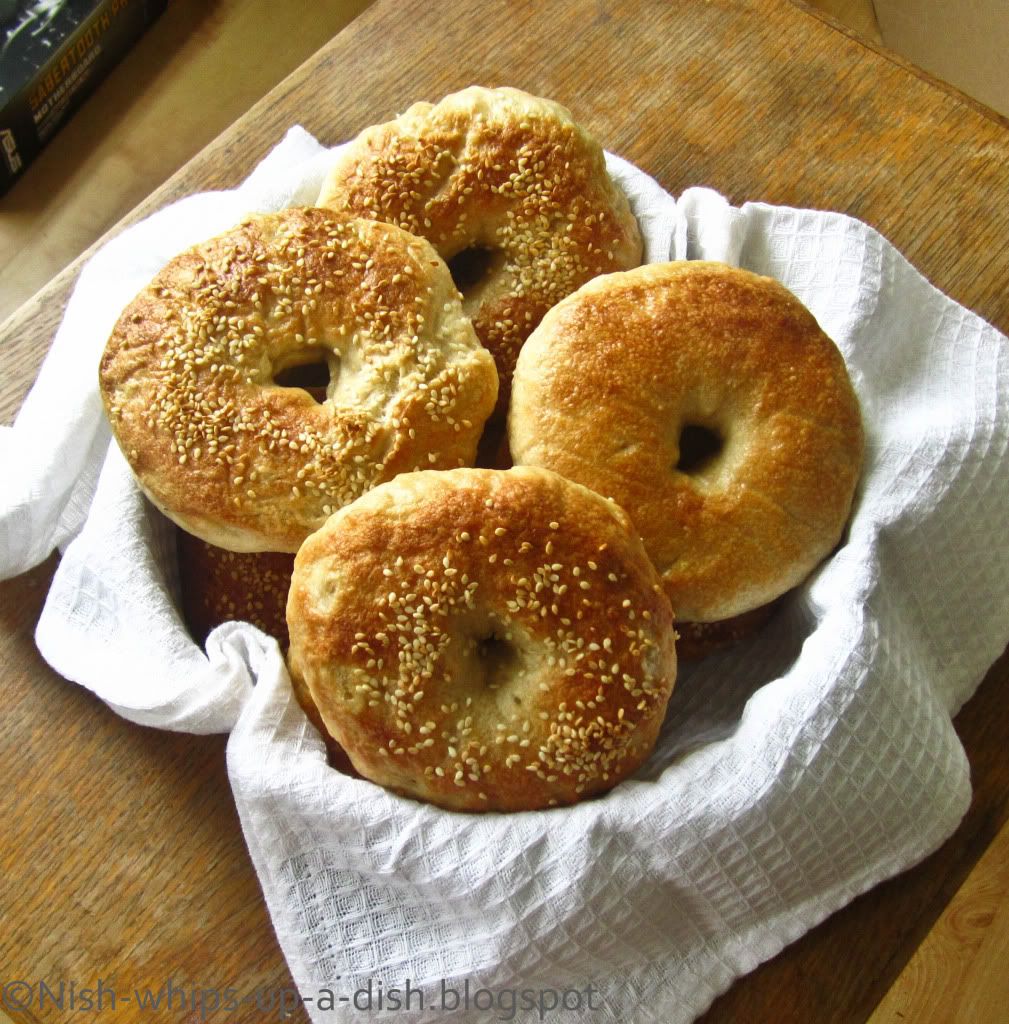
So as the title suggests, I made BAGELS! I was browsing through Foodgawker as I had a moment to spare (like we all do..) trying to plan my cooking/baking adventures for the weekend when I thought “hey! Why don’t I make bagels!” Before I could even justify that thought, my mind was already spinning thinking of the various flavours and toppings I could incorporate to imaginary bagels!
A quick search on the interweb resulted in various recipes, each calling for different ingredients and cooking times. I decided to stick with Brown Eyed Baker’s adaptation of Peter Reinhart’s recipe, as she had such detailed instructions there was no way I could go wrong. Or could I?
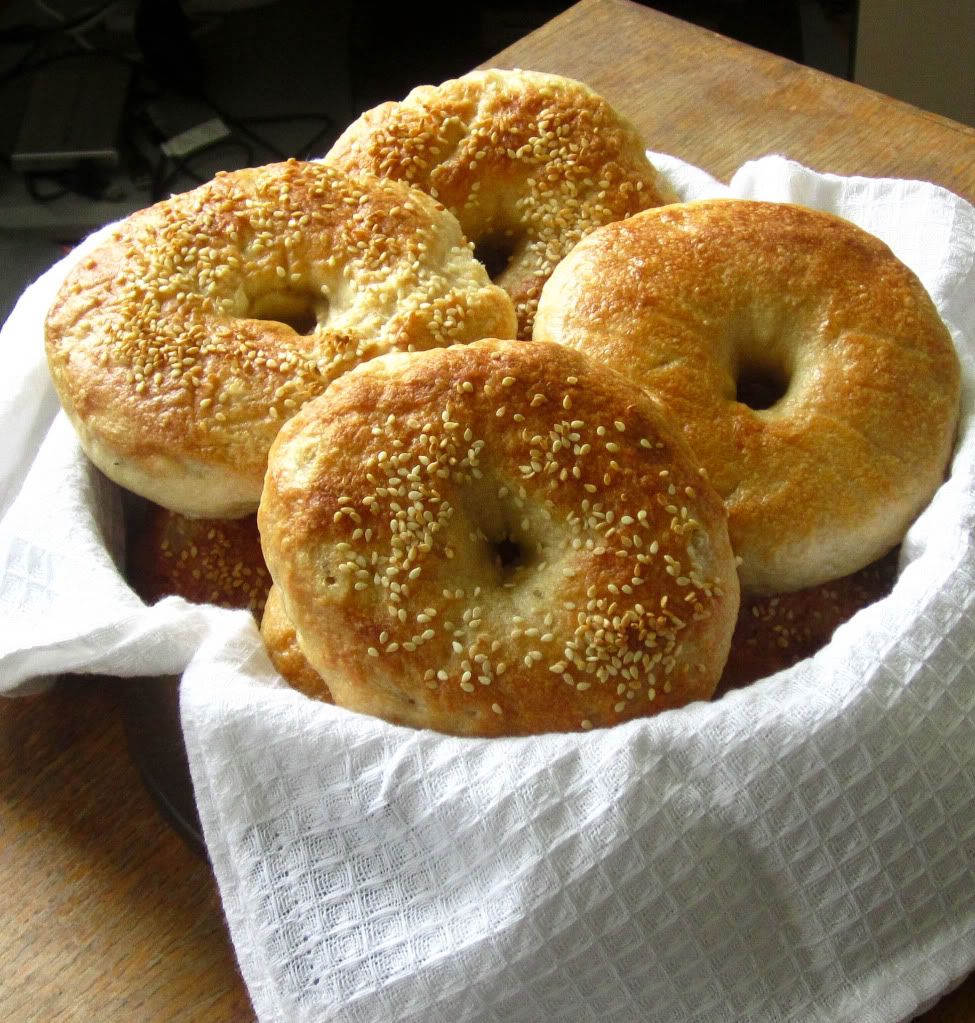
I kid. The bagels turned out perfect! It had perfect texture, soft but not too soft and chewy but not so chewy you could break your jaw trying to munch through a mouthful of bagel.
It was so yummy that it only needed with a thin spread of butter before being devoured.
Unfortunately there are no pictures of the process because I wasn’t sure if my first attempt would turn out and I was being lazy! (In my defense, it was the weekend!) Also, it gives me an excuse to whip up another batch asap!
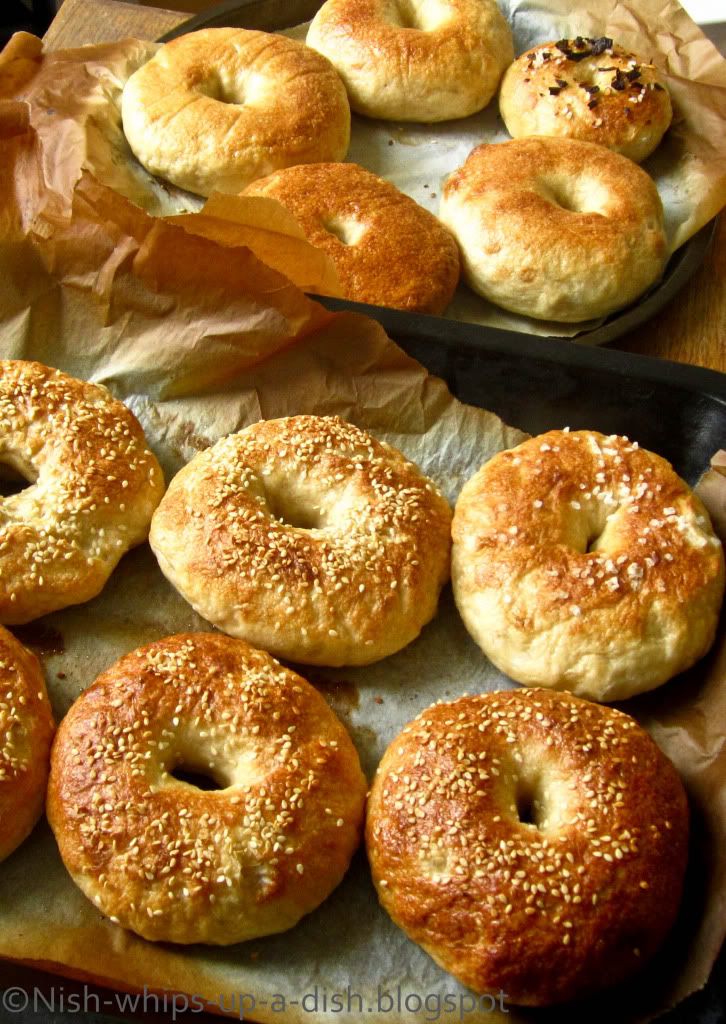
As the whole process was a bit of an experiment, I topped a few bagels with sesame seeds, some I left plain, a few more with rock salt and some with chilli flakes. I have to say my favourites had to be the ones topped with rock salt and sesame seeds. The chilli flakes burnt far too quickly which left it with a slightly unpleasent bitter aftertaste.
Bagels
Slightly adapted from Brown Eyed Baker
Yields 12 large bagels
Ingredients
There are three parts to the bagel dough. The sponge, dough and the finishing bit.
Sponge:
1 teaspoon instant yeast
4 cups strong bread flour
2.5 cups water, room temperature
Dough:
½ teaspoon yeast
3 cups strong bread flour
2 ¾ teaspoon salt
2 teaspoon brown sugar
To finish:
1 tablespoon baking powder
Cornmeal or semolina flour, for dusting
Toppings of your choice. I used rock salt, sesame seeds and chilli flakes
Method
- Start off by making the sponge. To do that, stir in yeast to the flour in the largest bowl you own. Add the water to the flour mixture, whisking continuously until it takes the form of thick pancake batter. Cover the bowl with cling wrap, and leave to rest in room temperature for approximately two hours. After two hours of resting, the mixture takes on a foamy and bubbly texture. It should also have swelled to almost double its original size.
- To make the dough, in the same bowl, add the additional yeast to the sponge and mix well. Next add the bread flour, sugar and salt, a little at a time, until the mixture is fully incorporated with the sponge. Keep stirring up the mixture forms a ball. If the dough is too tacky and sticky, continue to add flour until it is no longer tacky.
- Remove from the bowl and start kneading it for at least 10 minutes, until it starts to take on a smooth appearance. If you have a bread maker, the kneading process should take you half the time.
- According the original recipe, the dough should be firm, stiffer than French bread dough but still pliable and smooth.
- Immediately divide the dough into rolls, half the size of tennis ball or more specifically 4.5 ounces per roll.
- Cover the rolls with a damp towel and let it rest for 20 minutes.
- In the mean time, line baking tray with parchment paper and coat with a light layer of vegetable oil. The recipe calls for spray oil, but me being skint, I refused to splash out on such luxuries. Either way, coating parchment paper the old school way worked fine.
- Now it’s time to shape the bagels! Place a roll in your palm and stretch it out till it resembles a bagel. Put your thumb through the middle to make a hole, and continue stretching and shaping the roll. The hole in the middle should ideally be about 1.5 inches in diameter.
- If my explanation is a bit blah and vague, here is another technique which which demonstrates how to make a perfectly formed bagel.
- Place each shaped bagel 2 inches apart from each other on the baking tray and top with a light coating of oil.
- Cover with cling film and set aside for another 20 minutes.
- Uncooked bagels need to be left in the refrigerator overnight to rest and to ascertain whether they are ready to be rested, you will need to conduct the ‘floating’ test. Basically all you need is a bowl that is filled with room-temperature water. After the bagels have rested for 20 minutes, remove one and drop it into the bowl.
- If the bagel floats on to the surface within 10 seconds, you have bagels ready to be rested in the refrigerator.
- If not, remove the tester, and let the bagels rest for another 10 minutes. Continue this process until your tester bagel floats.
- The following day, preheat the oven to 250°C. Bring a large pot of water to boil and add the baking soda.
- Enjoy the fizz and bubbles!
- Remove the bagels from the fridge and gently drop them into the water, boiling only as many as can comfortably fit in the pot. Flip them over after a minute, or longer if you prefer chewy bagels. In hindsight, the next time I may reduce the boiling time for each side to 40 secs.
- Once boiled, remove from pot and place bagels back onto the baking trays. If you want to top the bagels, now is the time.
- Place bagels in the oven for 5 minutes, and then rotate the tray by 180°C. After the rotation, let the bagels bake for an extra 7 minutes, or until they take on a light golden colour.
- Remove from oven and let cool.